If you are migrating legacy designs to LibrePCB, you don’t have to start from scratch. LibrePCB version 2.0 includes a built-in import tool for Autodesk EAGLE files.
Before we start, keep in mind: The importer only supports XML-based EAGLE files (v6 or later). If you have v5 .sch, .brd, or .lbr files, you must open and save them in a newer version of EAGLE first to convert the formatting.
Because this tool translates between two different software architectures, there are limitations. Review the following lists before you start, so you know exactly what requires manual clean-up.
Format & Architecture Limits
- EAGLE v6+ Only: The importer only reads XML-based files. Workaround: If you have legacy v5 files, open and save them in a newer EAGLE version first.
- Multi-Sheet Gates: If a component’s gates are spread across multiple schematic sheets, the import will fail. Workaround: Consolidate these onto a single sheet in EAGLE prior to import.
- Buses & Modules: Importing buses is supported since LibrePCB 2.1.0, in older versions both are discarded during the schematic import.
- Missing Components: Any devices placed on the board that lack a matching component in the schematic will be dropped.
Geometry & Visual Changes
- User Layers: Custom polygons and texts on user layers are discarded.
- Line Styles: Dashed or dotted lines are converted to solid, continuous lines.
- Traces & Vias: Curved traces (or those with flat caps) are converted to straight lines with round caps. Rectangular or octagonal vias are forced into standard round vias. Workaround: Manually replace these specific vias with pads after the import.
- Net Labels: Xref net labels are converted to standard net labels.
- Copper Pours: LibrePCB’s plane-filling algorithm differs from EAGLE’s, so your poured copper geometry may yield slightly different results. Always double-check your planes!
Here is the step-by-step process for importing both your projects and your component libraries.
Part 1: Importing an EAGLE Project
Step 1: Start the Importer
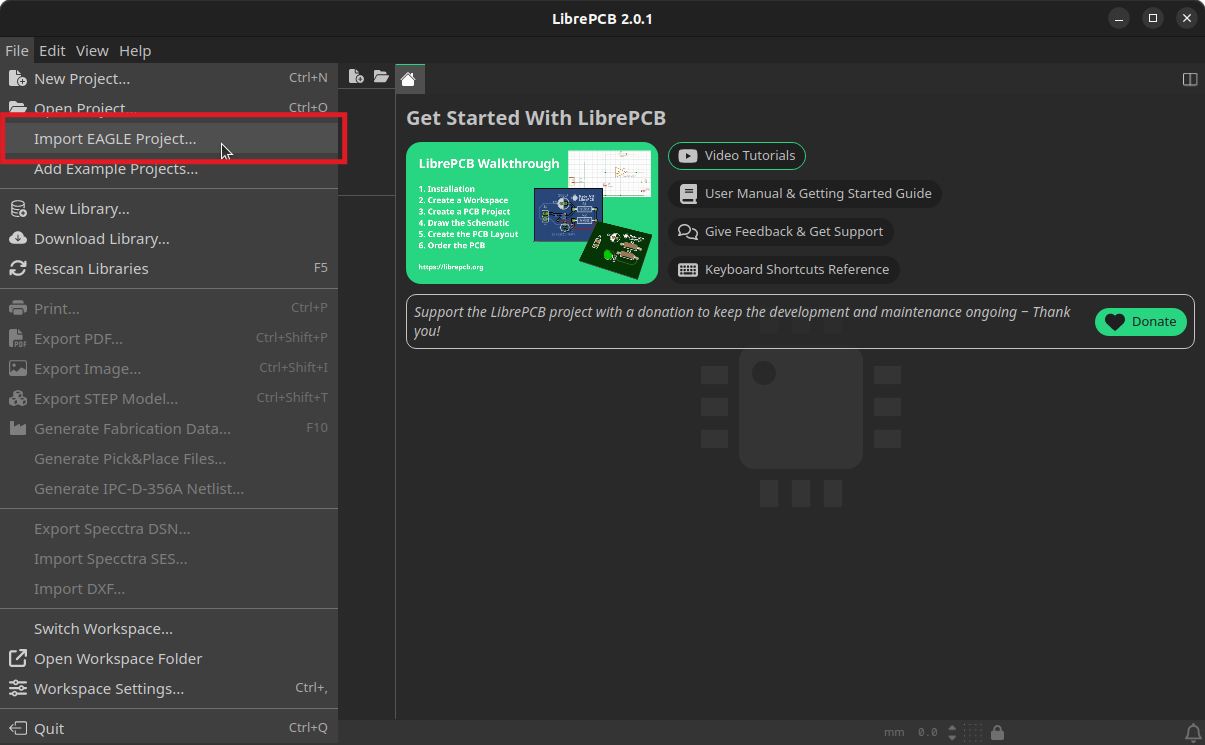
Open LibrePCB and navigate to File > Import EAGLE Project to start the process.
Step 2: Select Your Files
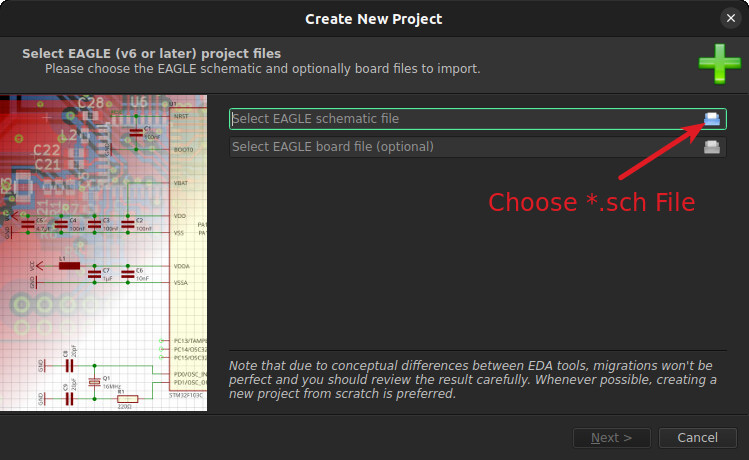
Point the tool to your existing EAGLE schematic and board files. Choose a *.sch file to import your project.
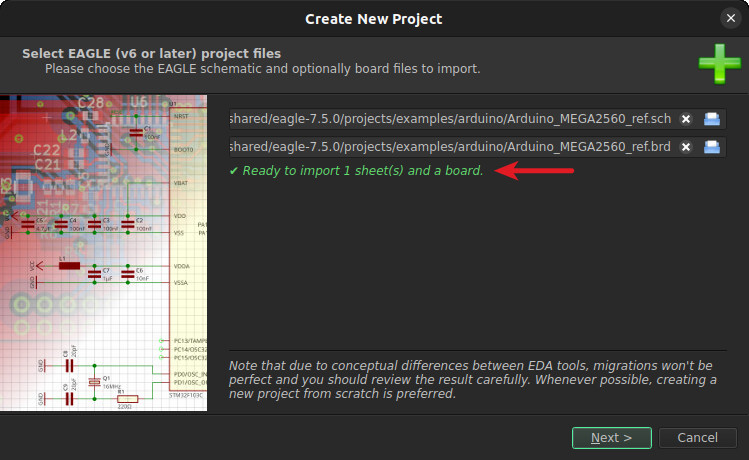
The software will parse the project and display a status check:
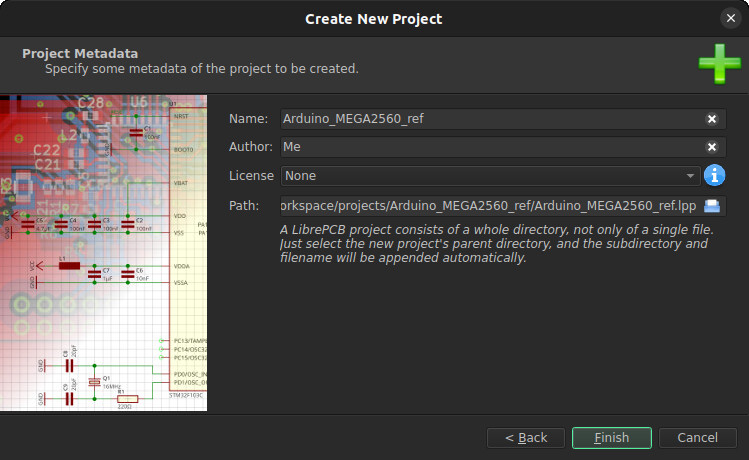
Step 3: Enter Project Metadata
Specify the necessary metadata to set up your new LibrePCB project.
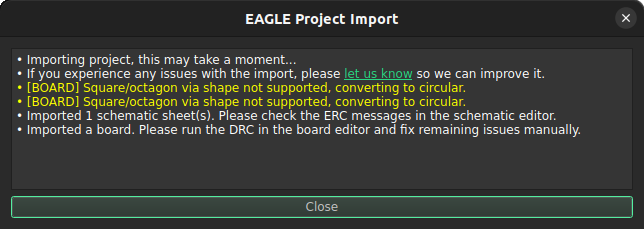
Step 4: Check the Translation Log
Once processed, LibrePCB will display a message log listing exactly what was modified or dropped. Pay close attention to warnings regarding user layers and custom polygons, as these require manual clean-up.
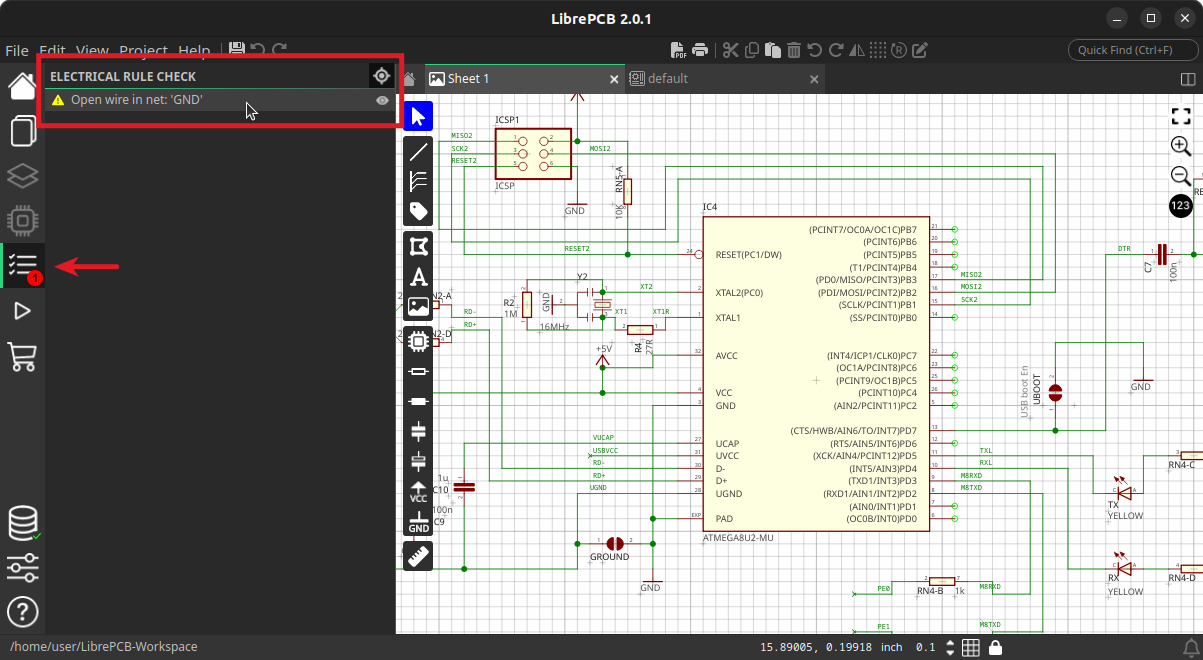
Step 5: Run the ERC and DRC
Because you are moving between two entirely different software architectures, you must re-validate your electrical connections and manufacturing constraints. Review the Electrical Rule Check (ERC) messages first.
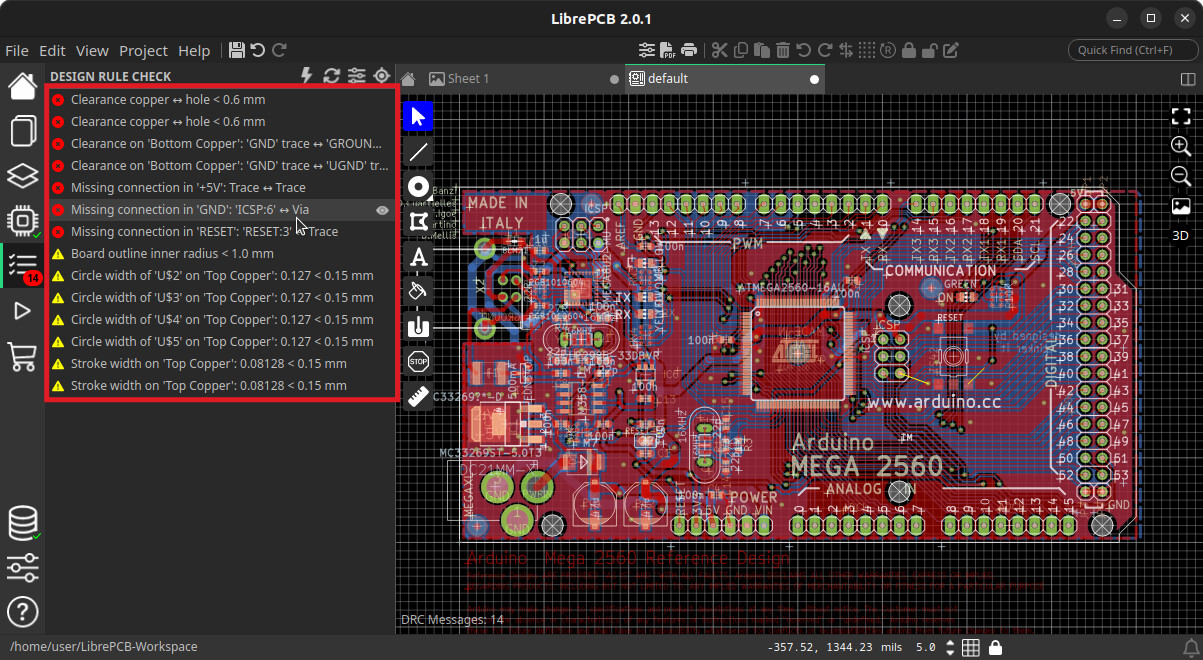
Next, execute the Design Rule Check (DRC).
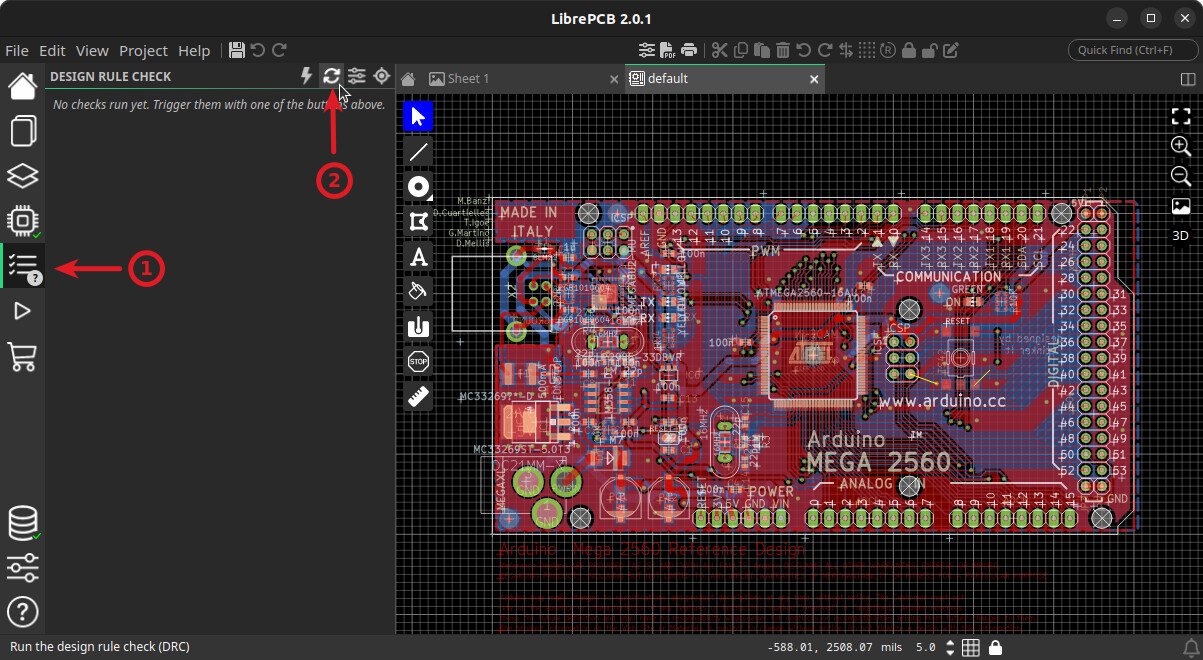
Remember that highly customised rules from EAGLE will be overwritten with LibrePCB’s default values.
Supported Design Rules
- Max. tented via diameter (mlViaStopLimit)
- Automatic via annular ring (rvViaOuter; simplified, not separated by top/inner/bottom)
- Automatic THT pad annular ring (rvPadInner; simplified, not separated by top/inner/bottom)
- Automatic stop mask clearance (mvStopFrame)
- Automatic solder paste clearance (mvCreamFrame)
- Min. copper/copper clearance (mdWireWire)
- Min. copper/board clearance (mdCopperDimension)
- Min. drill/drill clearance (mdDrill)
- Min. copper width (msWidth)
- Min. PTH annular ring (rlMinViaInner)
- Min. PTH/NPTH drill diameter (msDrill)
Step 6: Final Review
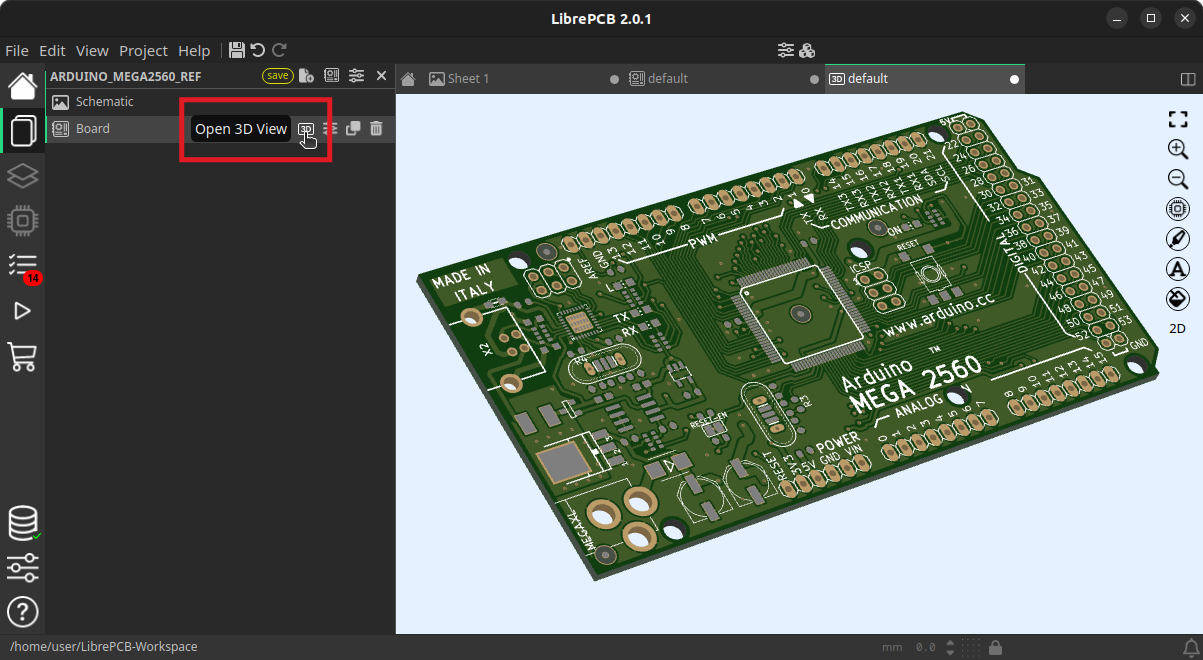
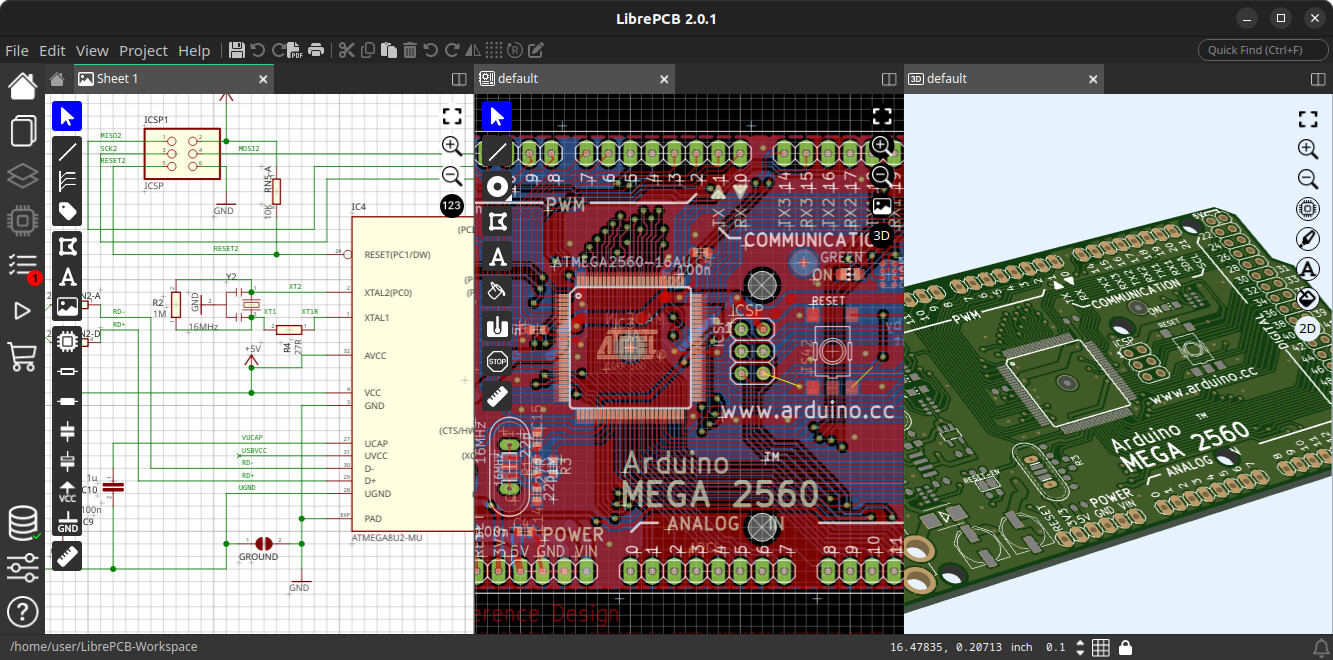
Switch to the 3D viewer to ensure your board geometry and component placement transferred correctly.
Part 2: Importing an EAGLE Library
If you want to build up your LibrePCB database with the custom footprints and symbols you’ve spent years tweaking in EAGLE, use the library import tool.
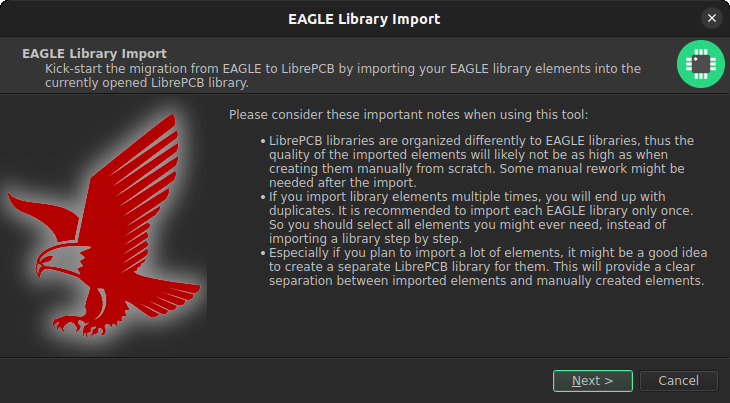
Advice: Import all library elements at once. LibrePCB does not currently detect already-imported elements. If you import step-by-step, you will end up with duplicates.
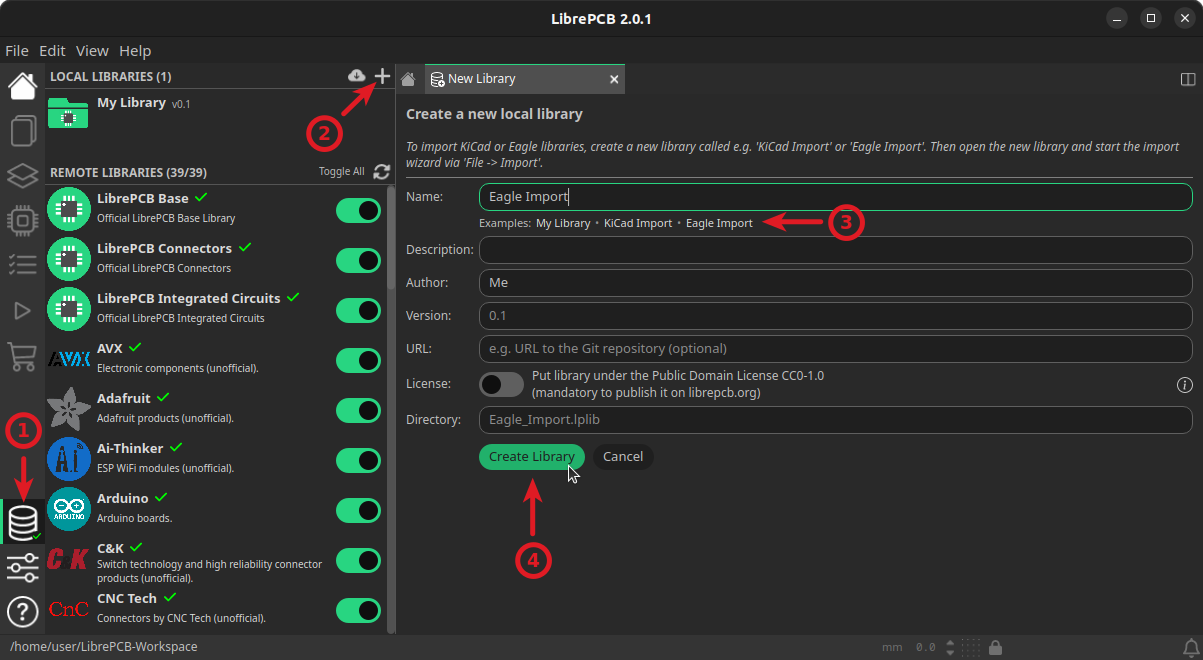
Step 1: Create a New Library
Create a new local library to house your legacy parts, give it a name and fill in the metadata.
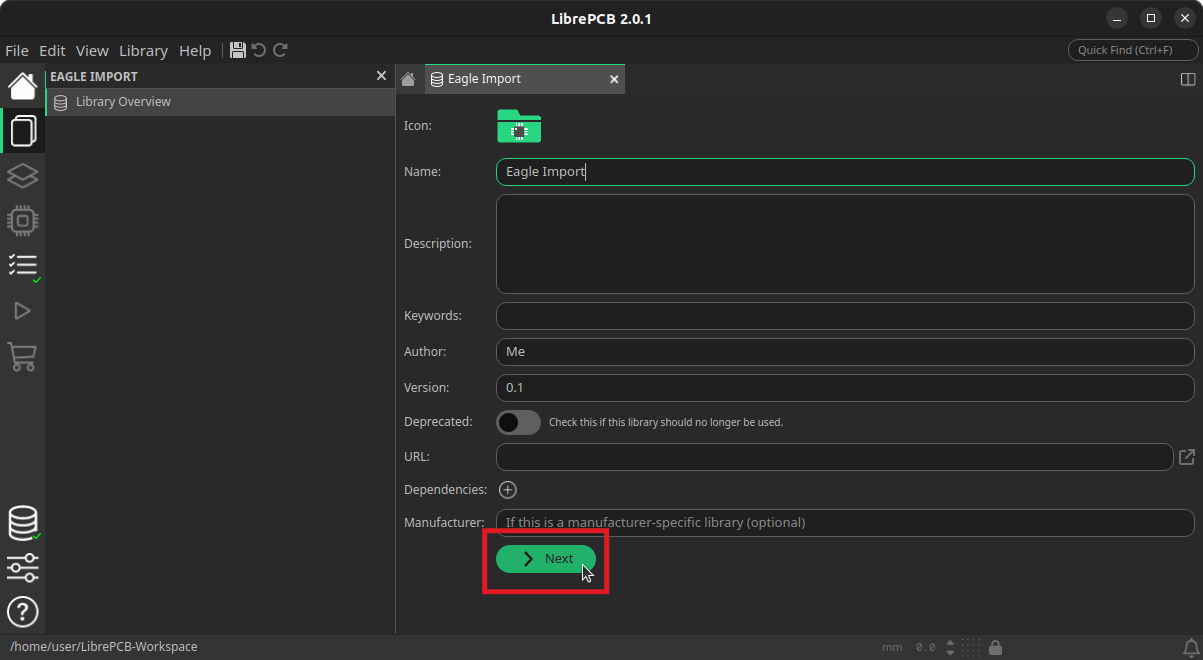
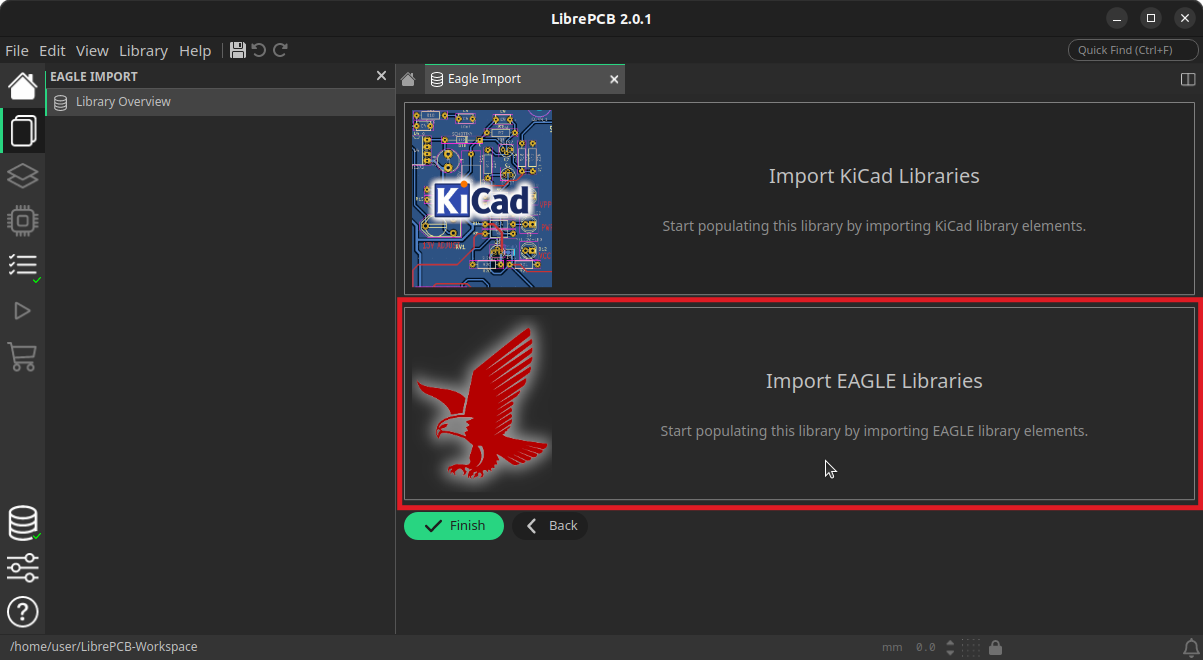
Step 2: Start the Library Import
Open the import wizard for EAGLE libraries.
It will tell you, that you should import all elements, you might ever need and create a separate LibrePCB library for them:
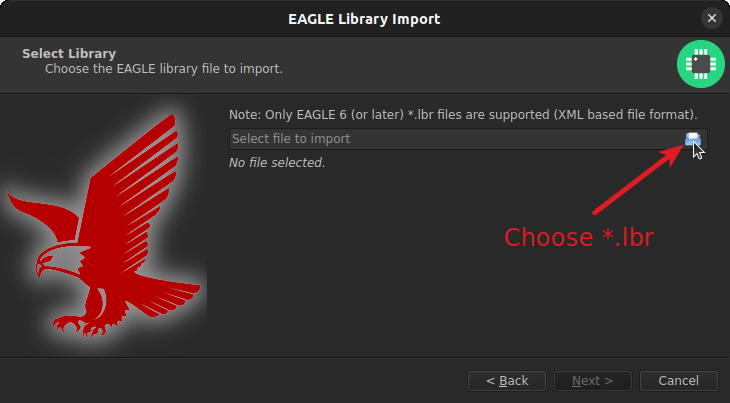
Step 3: Choose the File and Check Status
Select your EAGLE .lbr file. The wizard will parse the contents and display a status check to ensure the file is readable and all elements have been found.
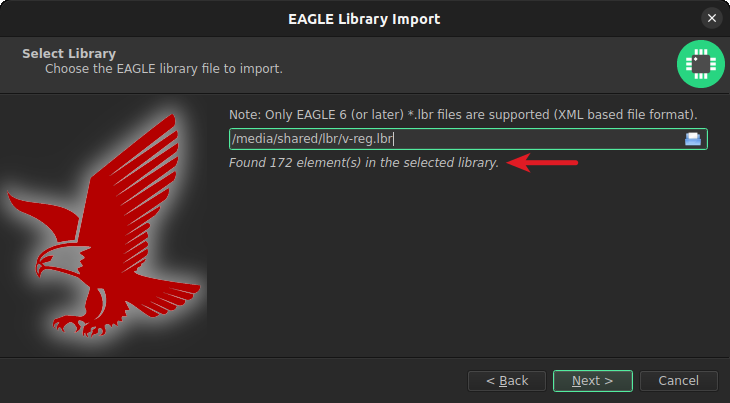
Step 4: Select Elements
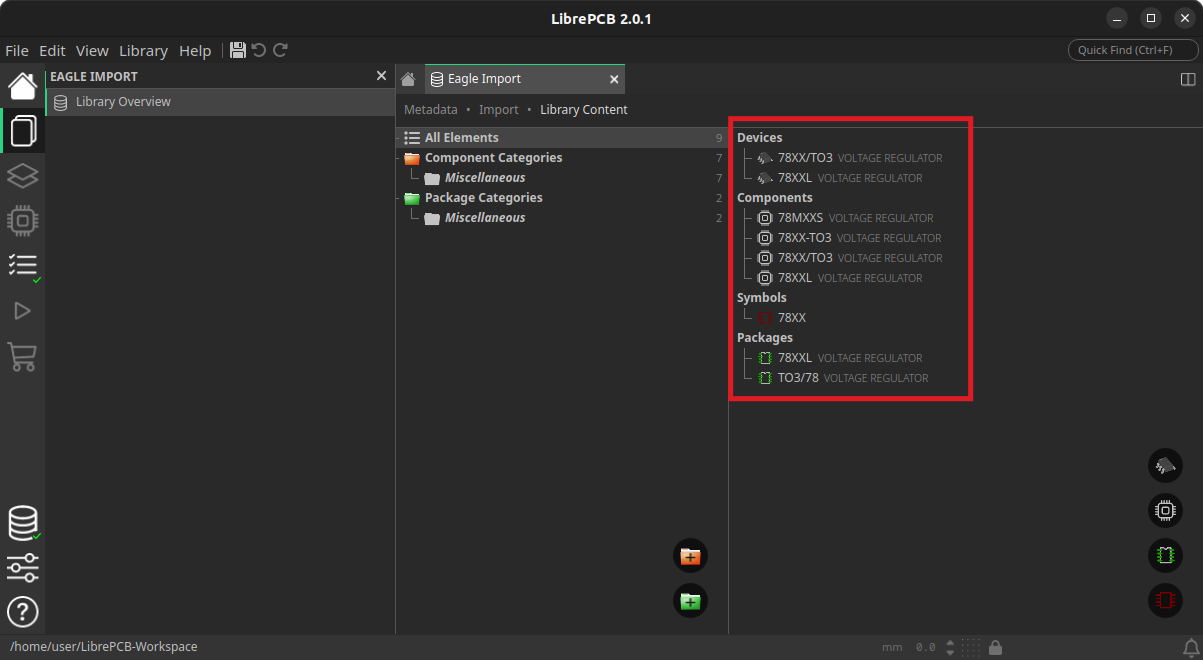
The tool will list the parsed contents. Select the symbols, footprints, and components you wish to bring over (again, a bulk import is highly recommended here to avoid duplication).
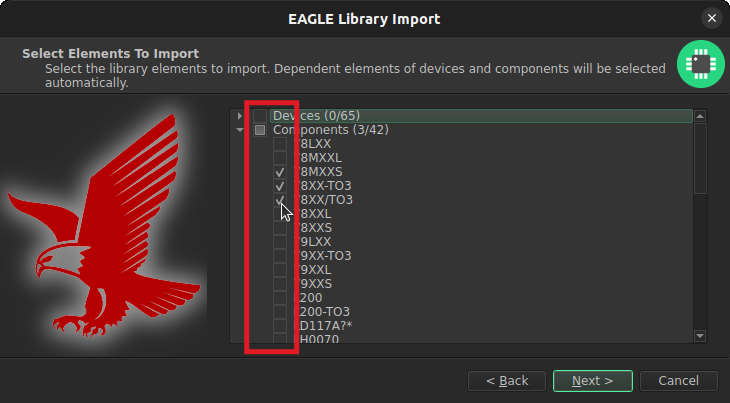
Step 5: Finalise Options and Import
Review your import options, like adding an EAGLE_ prefix, or adding categories and execute the process by hitting Import!.
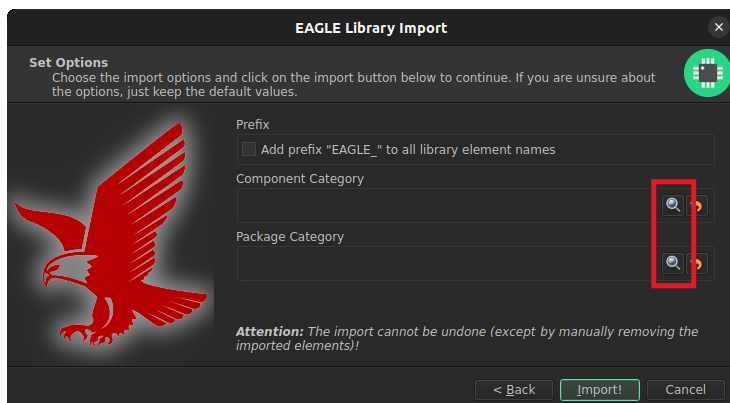
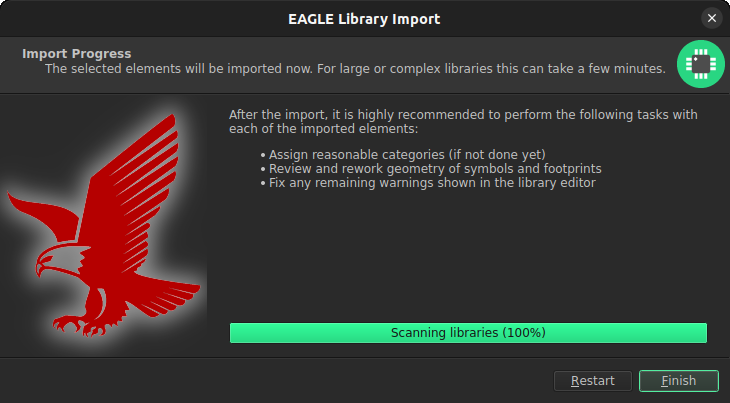
Once the wizard finishes, review the final result. Your legacy parts are now native to LibrePCB and ready to be dragged into your next schematic.