TU Graz Racing Team - Testing and debugging a Formula Student racecar
Test Phase
In the last post we wrote about the Design and Manufacturing phase in the TU Graz Racing Team. The next step after this was to finally get on the test track with our newly built car and drive the first kilometres.
At first, we drove without front and rearwing to test the basic vehicle functions and to see which problems would occur while driving. This year our car was ready to drive pretty early, in the middle of May. And it’s a good thing that we were able to test this early, seeing as many electrical as well as mechanical problems might occur. Additionally, we had more time for our drivers to test the software and to get a better feeling for the car before competitions.
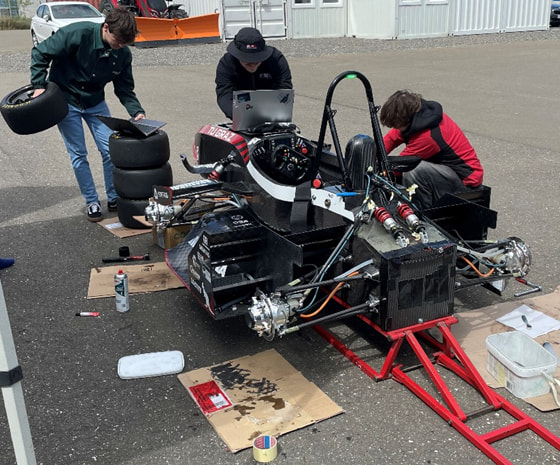
Figure 1: The TANKIA 2026 on one of its first testdays, during gearbox oil change and software updates
Challenges
At first the car was electrically reliable and drove without big problems. After a few kilometres problems like bad contacts in the Wiring Harness, damaged motor encoders, burnt traces on PCBs and issues in the AMS-Code (“Accumulator Management System”) and communication lines occurred.
Shutdown circuit (SDC)
Every Formula Student car must have a SDC. It is a series connection of several safety devices like crash sensors, interlocks wires and emergency switches. The end of the circuit powers the main relays of the accumulator and the Precharge circuit. Once one device is triggered the HV system is disconnected from the car and it can’t drive anymore. Errors from the AMS and the IMD (“Insulation Monitoring Device”) can also open the SDC. For that we designed a driver PCB, the Shutdown driver (SDD).
In the beginning of testing, we had problems with burnt traces of the SDC main path on this PCB. After some troubleshooting, we found out that the insulation of the interlock wires at the wheel packages got damaged and the 24V of the shutdown circuit shorted to the grounded wheel package housing. Since the SDD is the second member in the SDC chain, all the extra current was seen by it. To prevent this, we protected the interlocks better with extra coverings and shrinking tubes and we added a fuse in the SDC.
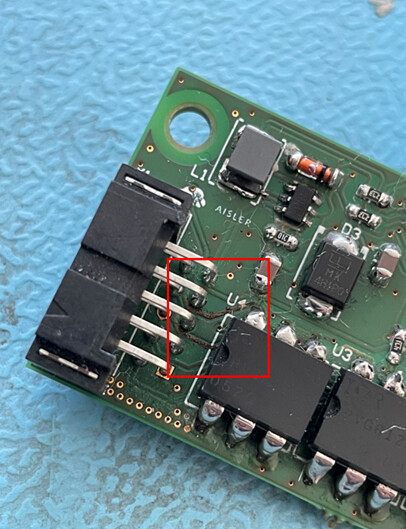
Figure 2: Burnt Traces on the Shutdown Driver PCB
What next?
After a long testing time full of fixing errors and improving the car we were happy to go on to the competitions. Here we can actually present what we achieved the whole year and show how the car performs. We also have the opportunity to exchange knowledge with other teams and help each other – that’s what Formula Student is about. More about that in the next post. Stay tuned!
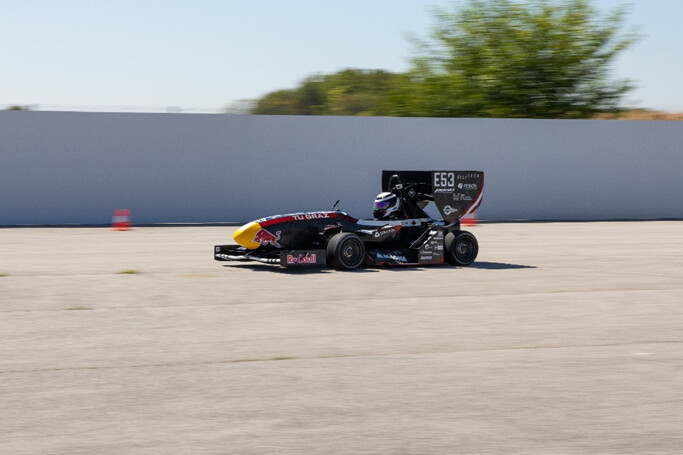
Figure 3: TANKIA 2026 “Chelsea” Ready to Race at the end of the testing phase
 btw where does the name come from?
