Set up Push for Altium
Last Updated: 30.05.2024
Using Push for Altium we offer a comfortable way to upload your ODB++ manufacturing files from within Altium Designer to our platform.
Copy you Organization Access Key
- Open https://aisler.net and click on “Account” in the upper-right corner of the page.
- Click on “Settings” in the navigation menu on the left.
- Copy the value below “Organization Access Key”. It should look like “f5c394b3db2f8d28ddf5”.
Add Publishing Destination
- Open the “Preferences” dialog by clicking the
 button in the upper-right hand area of the design space.
 - Select “Data Managment” → “Publishing Destinations” from the menu on the left.
- Using “Add Destination” add a new " Amazon S3" destination.
- Fill out all input fields as shown in the screenshot.
Name: Push to AISLER
Account Name: AISLER
Access Key Id: AKIAU7MHJAWYUB7QBZAS
Secret Access Key: y3jAQOlaGMXgvF0gx6PJNSqazxOP3bj2eeBirvwK
Bucket: push-for-altium-v
Key Prefix: Paste the “Organization Access Key” from your organization’s general settings as described in the first step.

When updating from the Gerber based Outjob make sure to uncheck Zip content !
Confirm the form. A new publishing destination should show up.

Import the output configuration
The Altium Outjob configuration file can be found on Github:
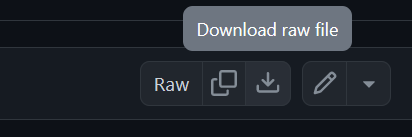
Click on the Download raw file button.
This will download the OutJob file into your Download Folder, copy the file into the folder where your Altium project is located.
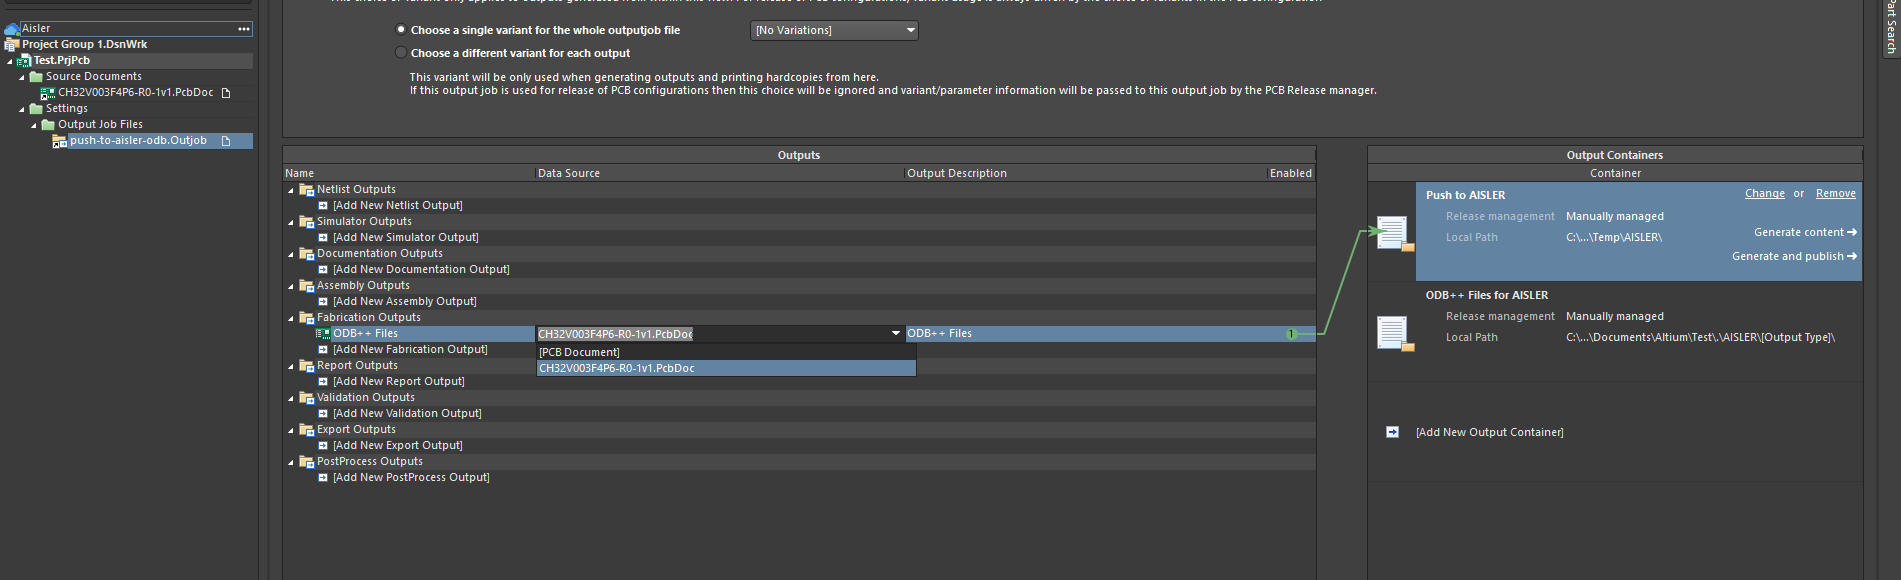
Using “Add Existing to Project…” on the “Projects Panel”, import the Outjob configuration to your project and assign the layout you would like to submit.
Make sure your PCB file and Outjob are in a project, the export will fail otherwise.
Push your project
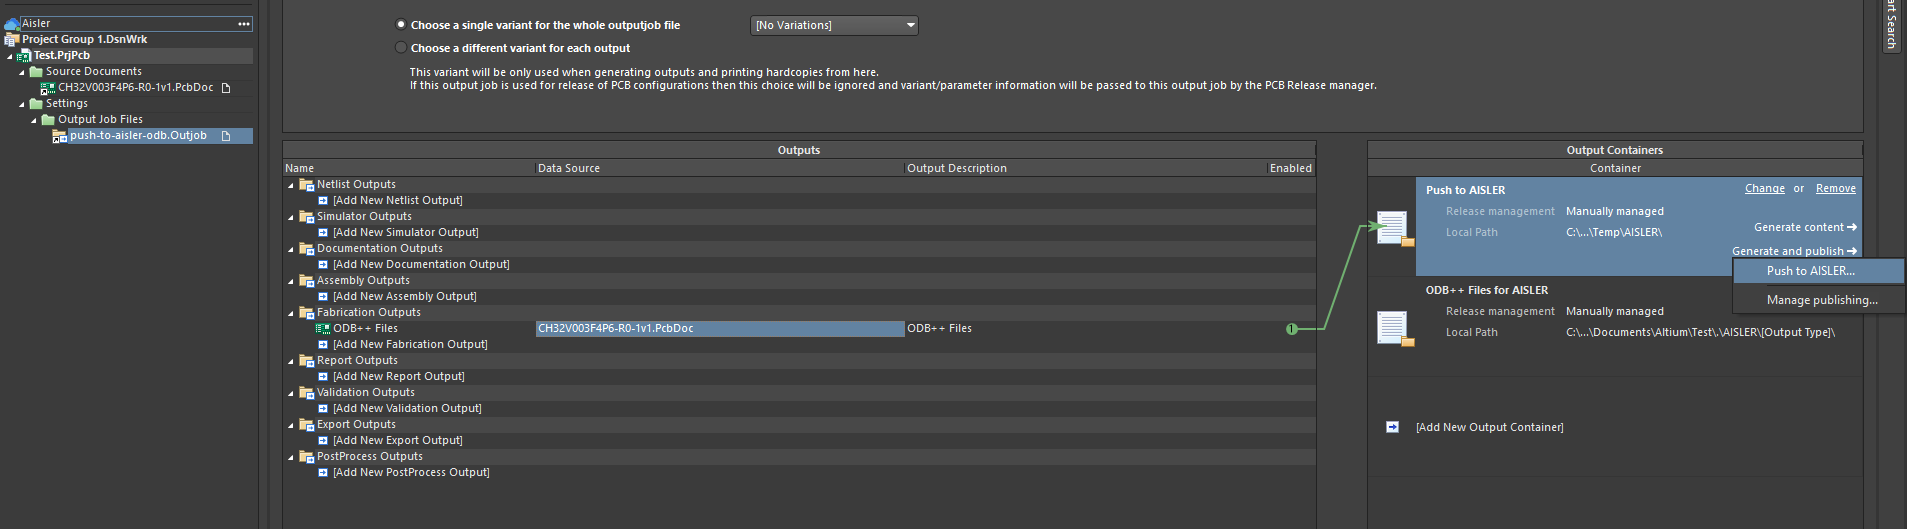
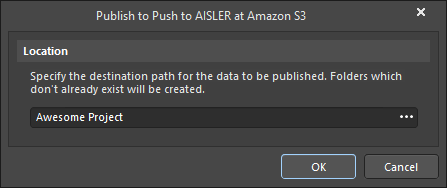
On the right hand side of the Outjob form, click “Generate and Publish” and select “Push to AISLER…”.
After just a few seconds a prompt should open up. Enter either a new project name (“Awesome Project”) or copy an existing repository / project path (“sandbox/awesome_project”).
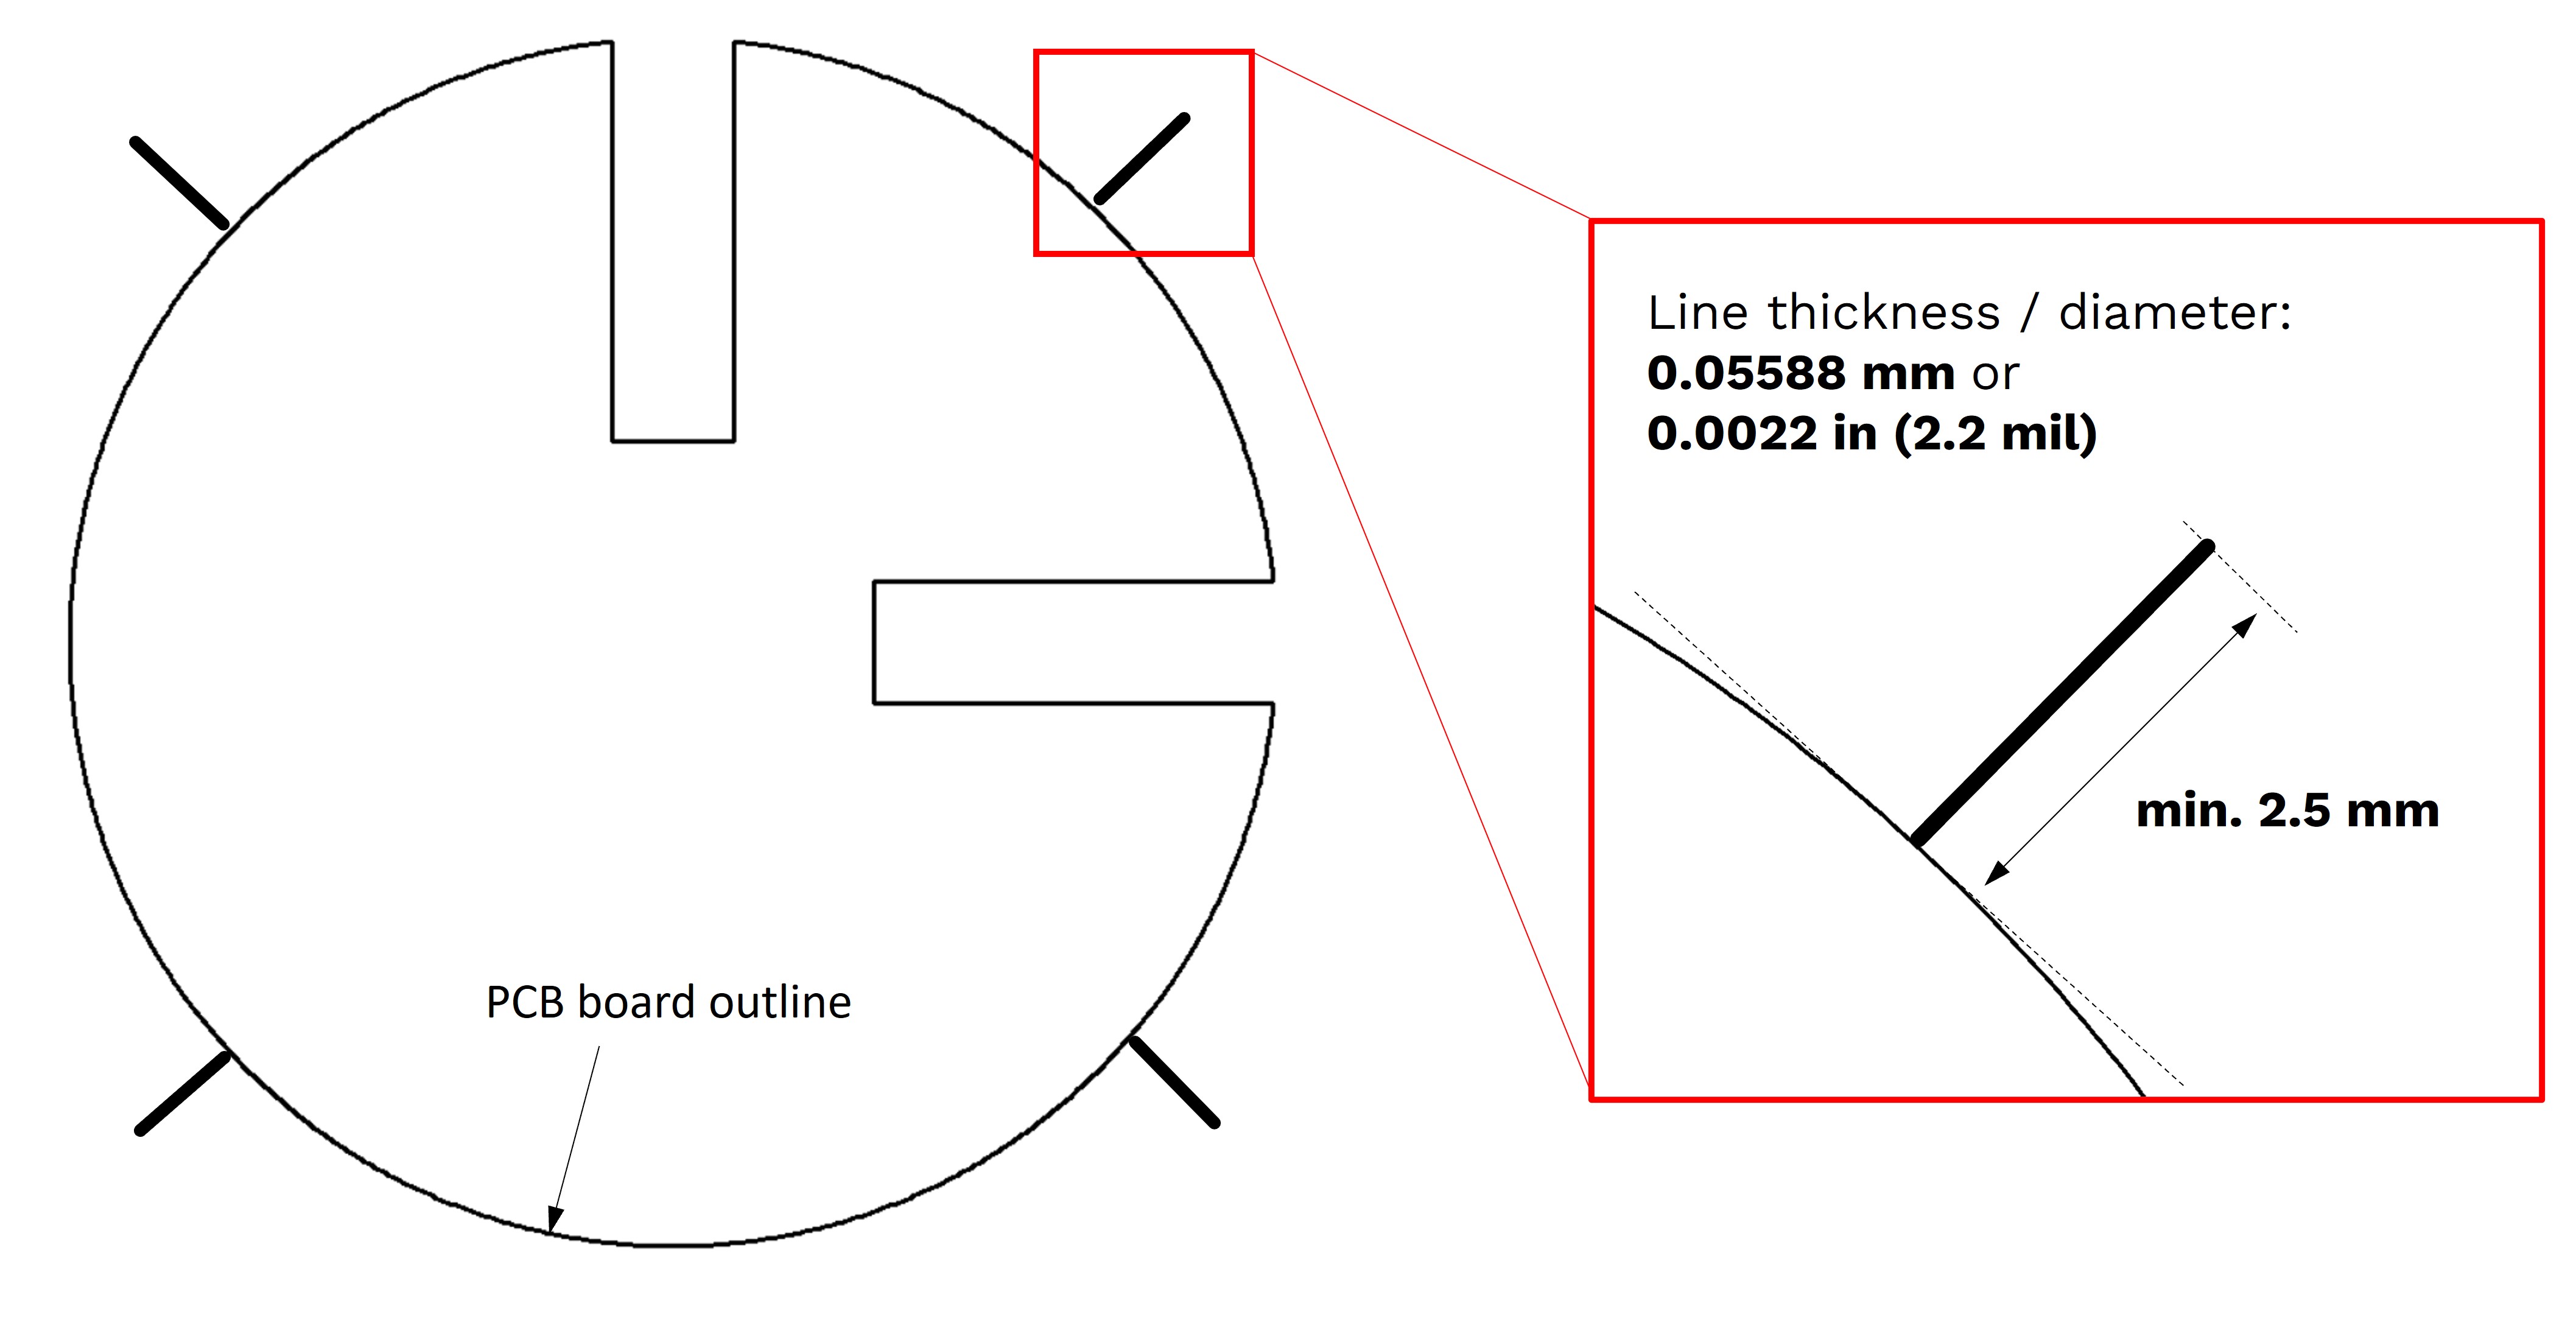
Setting custom Bridges
To set the position of custom bridges you’ll have to draw a marker on a layer that is named aisler-bridges , you can either rename an existing mechanical layer or create a new one.
Important: The aisler-bridges layer needs to be included in the OutJob configuration, it is not selected by default.