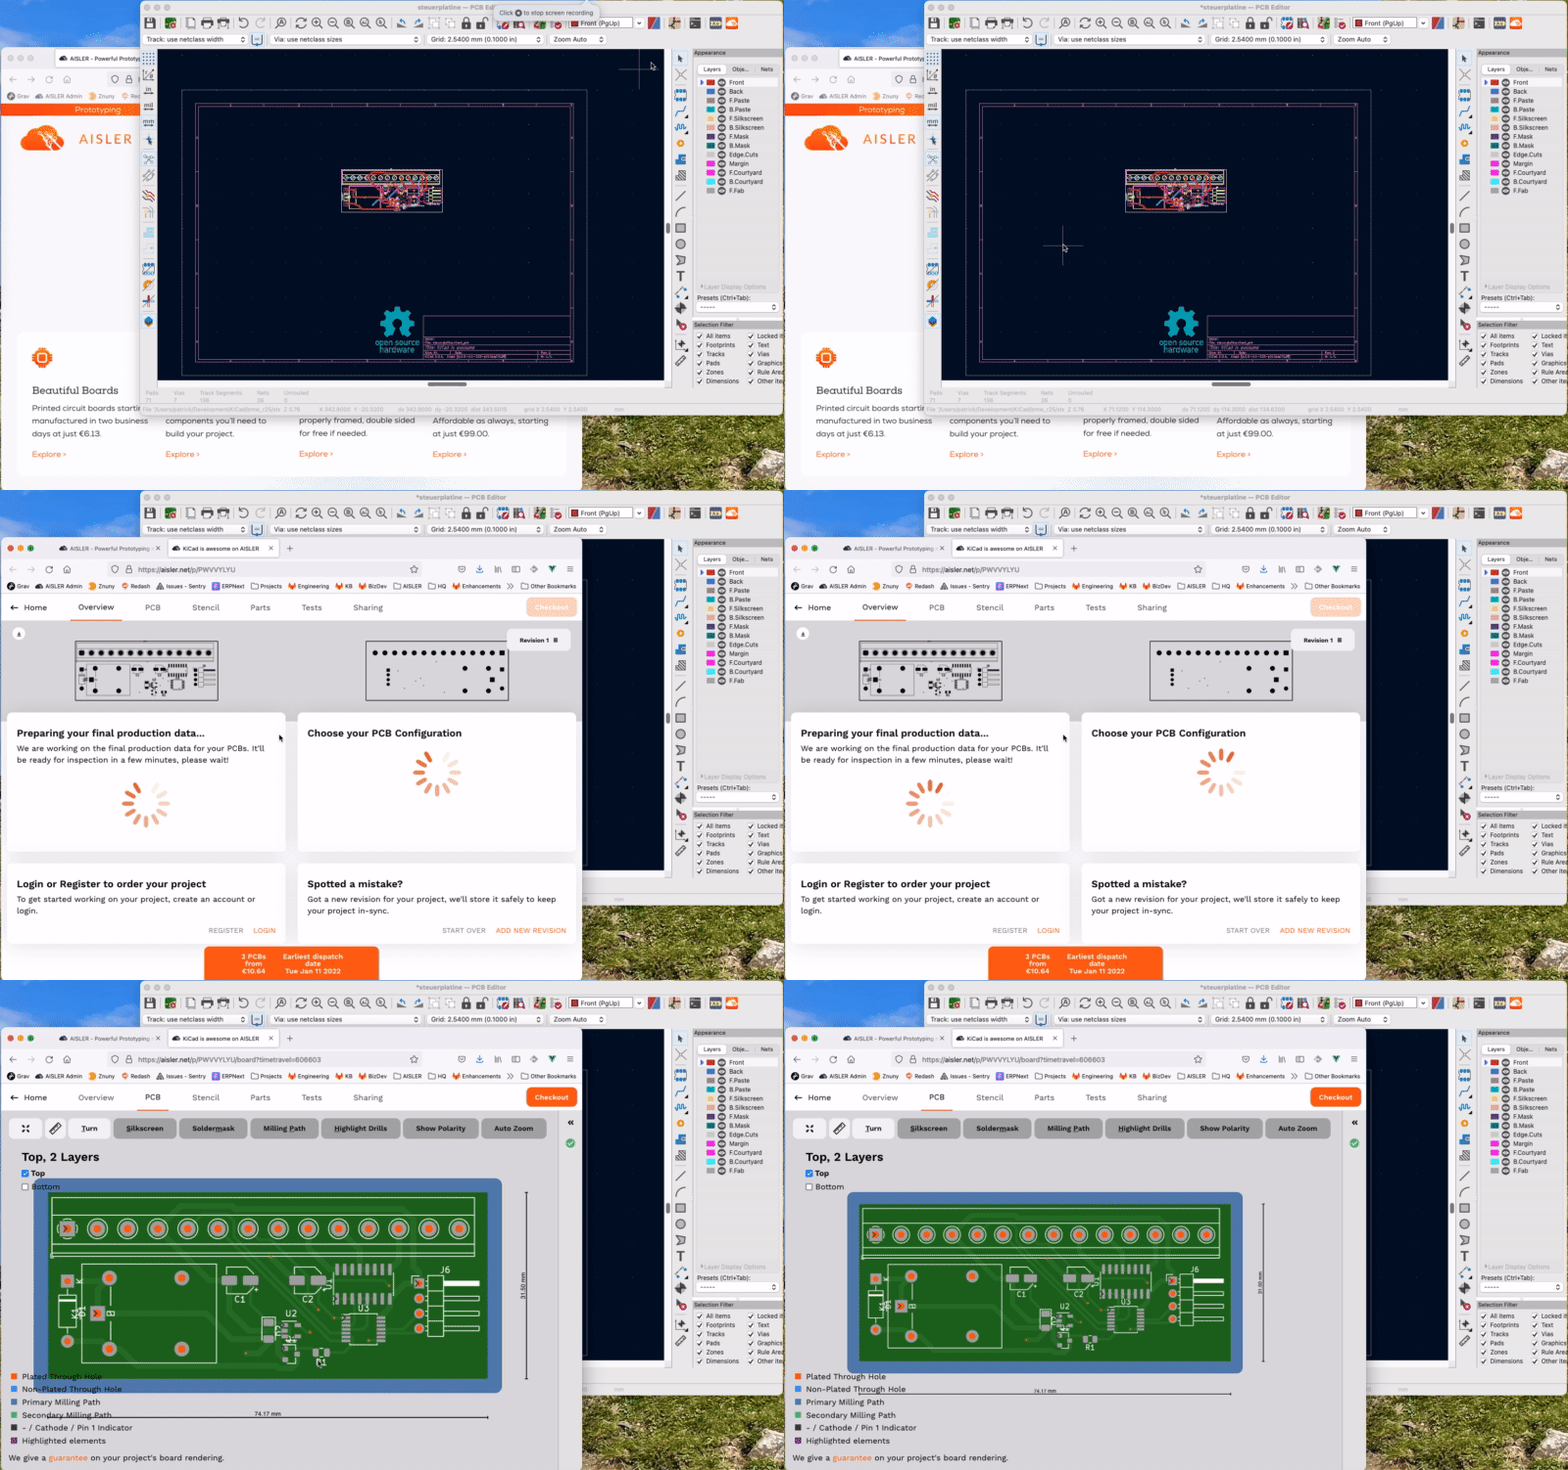
About this tutorial
Luckily we support KiCad natively. To get the best experience please use our KiCad Plugin AISLER Push for KiCad. You can download the plugin using the "Plugin and Content Manager” in KiCad V6.
AISLER Push for KiCad
Push your layout to AISLER with just one click for instant Powerful Prototyping
Want to use Powerful Prototyping or Amazing Assembly from AISLER? This plugin will provide you with a convenient one-click push to our service.
When you click the AISLER Push-Button we will export your project’s
- Gerber Files in the right format, so that production will run ultra-smooth
- IPC-Netlist-File to enable Smart Tests for production so that you get feedback down to the tiniest trace on how to improve your design for production
- BOM-file to import all components you have already assigned in your project
- P’n’P-file to get your project ready for assembly
Once the upload (– which will only take a couple of seconds –) is complete you can place your order within less than one minute. If you iterate on your design and click the push button again, we will make sure your project is stored as a new revision of that same project on our server.

Installation from the official KiCad repositories
Just open the “Plugin and Content Manager” from the KiCad main menu an install the “AISLER Push for KiCad” plugin from the selection list. That’s it!
Manual installation
If you prefere the latest version of this plugin, download the latest release ZIP file from Releases · AislerHQ/PushForKiCad · GitHub, within KiCad open the “Plugin and Content Manager” from the main window. Install the ZIP file using “Install from File…” a the bottom of the window.
How do revisions work?
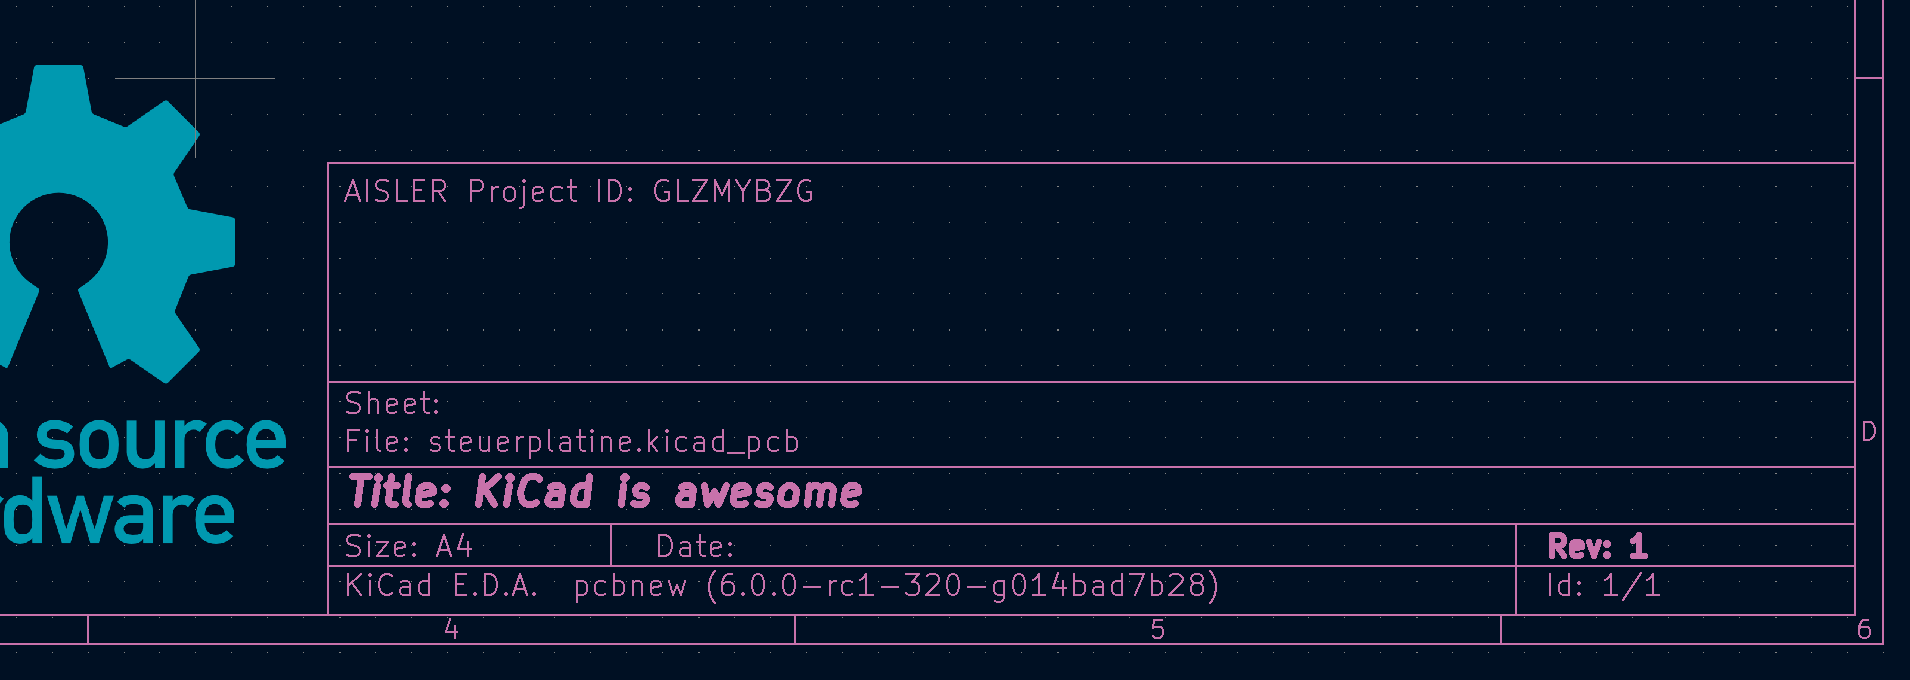
On the initial push of a new layout, the plugin adds a comment to comment line 3 including a reference to the corresponding AISLER Project ID.
Each further push will add the current layout to the project as a new revision. If this is not desired, just remove the comment and a new project will be created.
How to automatically assign parts?
In order to speed up the development to production process we support the automated matching of parts. Just add a property named either “Mpn”, “MPN”, “mpn” or “AISLER_MPN” to your schematic symbol properties and use the MPN of the part as value. To avoid mistakes, we will only automatically assign a part if the MPN is a 100% match. Alternatively, you can also use a Smart Match description in the field as described in Documenting parts.
AISLER is a Platinum Sponsor of the KiCad project

