About this tutorial
Luckily, we support KiCad natively. To get the best experience, please use our KiCad Plugin AISLER Push for KiCad. You can download the plugin using the “Plugin and Content Manager” in KiCad V10.
Last Updated: 2026-06-10
AISLER Push for KiCad
Push your layout to AISLER with just one click for instant Powerful Prototyping
This plugin provides a convenient one-click push to AISLER’s service. When you click the AISLER Push Button, it exports:
- Gerber Files in the correct format for ultra-smooth production
- IPC-Netlist File to enable Smart Tests and feedback on design improvements
- BOM File to import all components already assigned in your project
- P’n’P File to prepare your project for assembly
After upload (a few seconds), you can place your order in under one minute. On subsequent pushes, your project is stored as a new revision on AISLER’s server.
Installation
From the AISLER repository
Open the Plugin and Content Manager from the KiCad main menu. Go to Repositories and click on the Manage button. Click the button + and add the following:
- AISLER KiCad repository as the Name
- https://packages.aisler.net as the URL
and install AISLER Push for KiCad from the list of Fabrication plugins. That’s it.
Manual installation
Download the latest release ZIP from AislerHQ/PushForKiCad on GitHub. In KiCad, open the Plugin and Content Manager and use Install from File… at the bottom of the window.
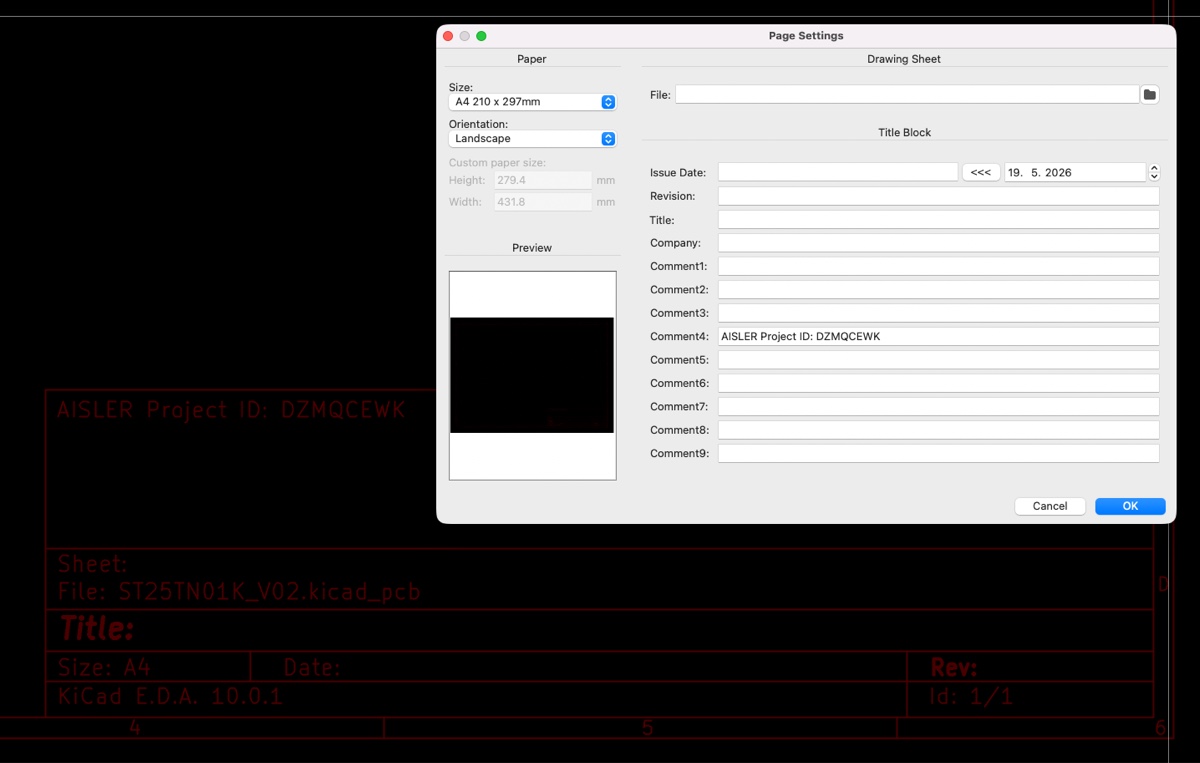
How do revisions work?
On the first push of a new layout, the plugin adds a comment to line 3 of the file containing the AISLER Project ID. Each subsequent push adds the layout as a new revision. To create a new project instead, remove the comment before pushing.
How to automatically assign parts?
Add a schematic symbol property named Mpn, MPN, mpn, or AISLER_MPN with the part’s MPN as the value. AISLER will only auto-assign a part on a 100% MPN match. Alternatively, use a Smart Match description as described in Documenting parts.
AISLER is a Platinum Sponsor of the KiCad project 

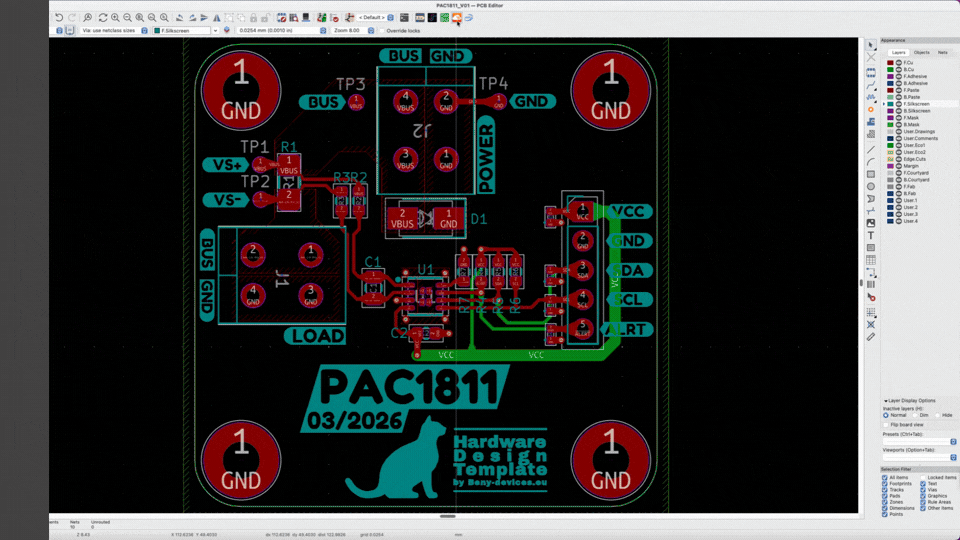
Setting the Mount type of component in KiCad
Mount types
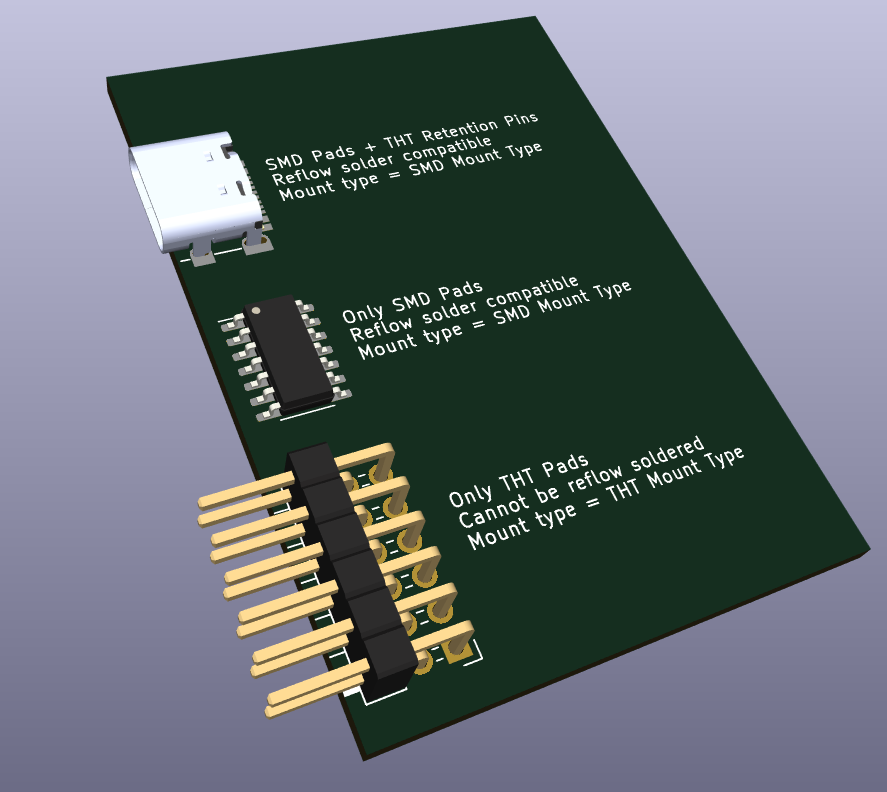
We categorize components into SMD or THT parts.
| Type | Description |
|---|---|
| SMD (Surface Mount) | Placed on one side of the PCB; can use pick-and-place + reflow soldering — economical |
| THT (Through Hole) | Pins inserted through the PCB and soldered on the other side; more sturdy but requires wave/selective soldering |
A component is SMD if it mounts to one side and can be reflow soldered. Parts with leads through the PCB that cannot be reflow soldered are THT.
Some components (e.g. USB-C connectors) have both SMD pads and THT retention pins — these are categorised as SMD since they can be reflow soldered.
We can summarize: A component is categorized as SMD when it mounts to one side of the PCB and can be reflow soldered. Parts with leads through the PCB that cannot be soldered using reflow are categorized as THT parts.
You can contact our support if you are unsure which option you should choose for your component.
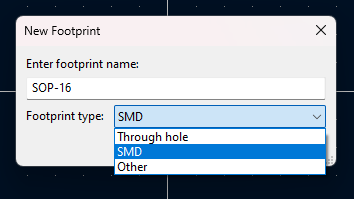
New footprint
When creating a new footprint in KiCad you will be promoted to select the mount type, select it according to our guidance above.
Update an existing footprint (preferred method)
Use the Footprint Editor to ensure changes apply to all future PCBs.
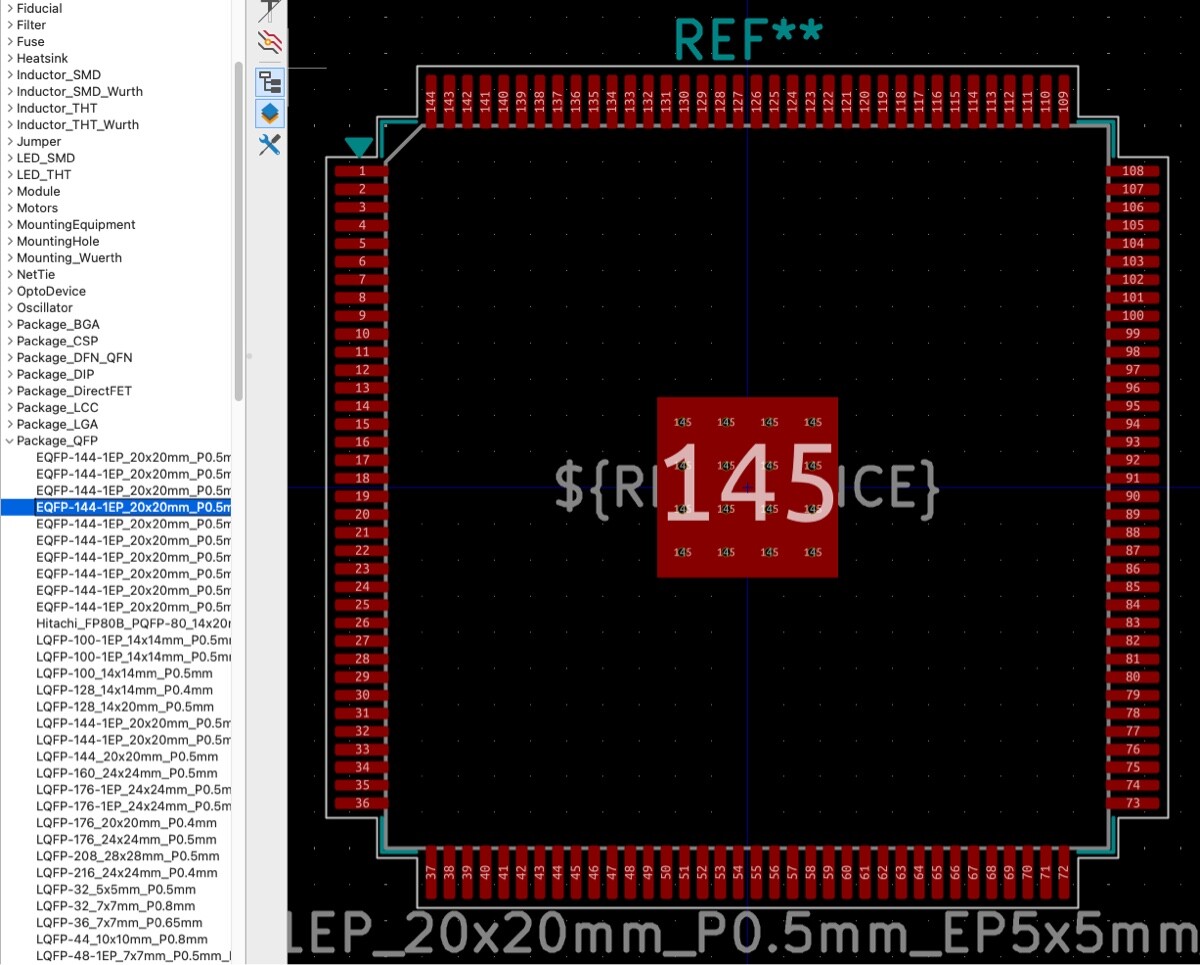
1. Open the Footprint Editor

2. Select the footprint using the tree view
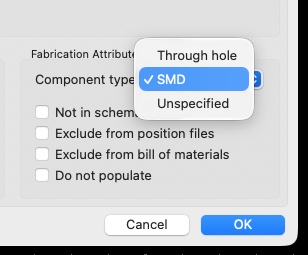
3. Edit the footprint properties.
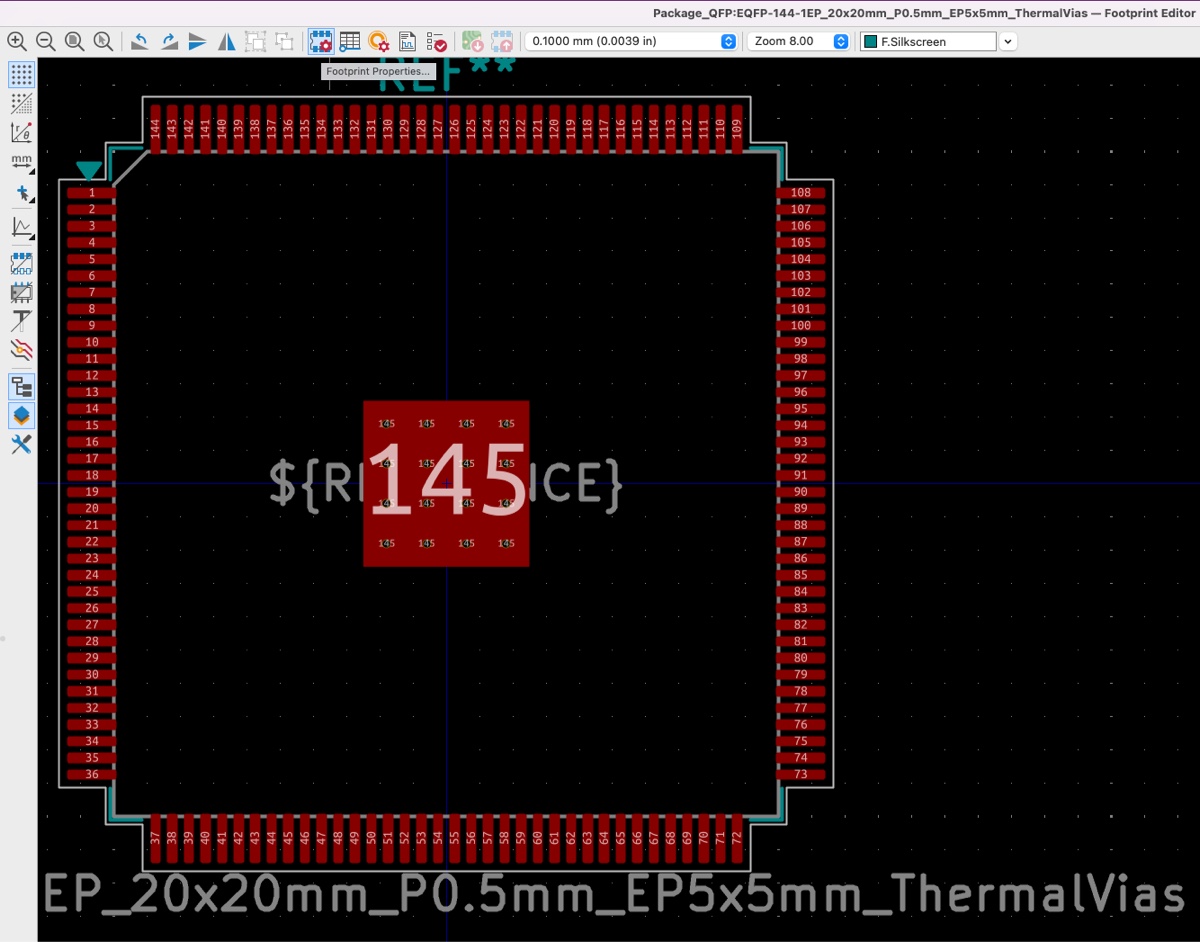
4. Update the mount type and save with Ctrl + S
5. Apply changes to the PCB
We now need to apply our changes to the PCB, open the PCB editor, right-click on the footprint that you want to update. Select Update Footprint. You can assign a shortcut to this function.
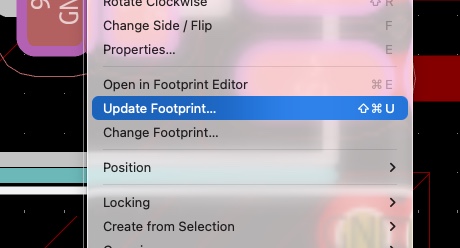
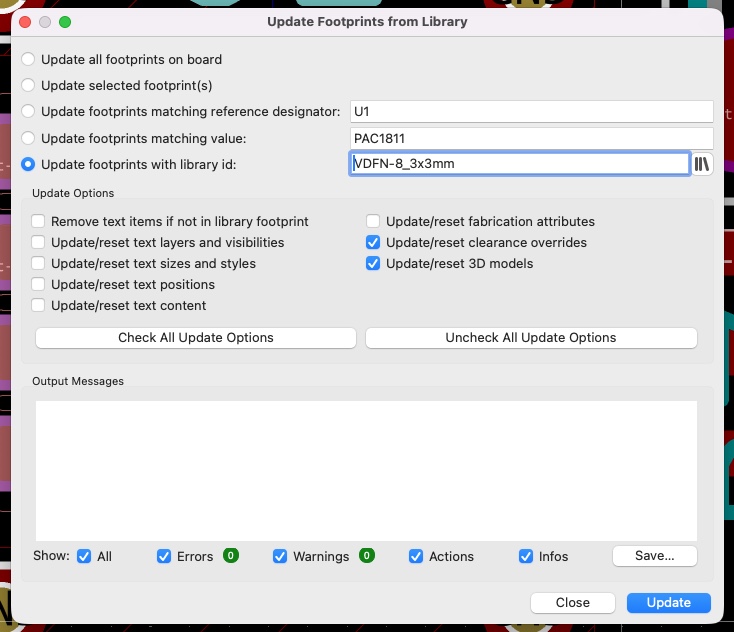
This will open up a new dialog, select if you would like to update all the footprints in your layout or just the one you selected. Review the changes and save the PCB file using Ctrl + S .
6. Upload the new revision.
Go to the project overview. You will find an option to upload a new revision in the bottom left-hand corner:

During an ongoing order, you have to contact our support staff to update the revision for you.
Update a footprint when only the PCB file is available
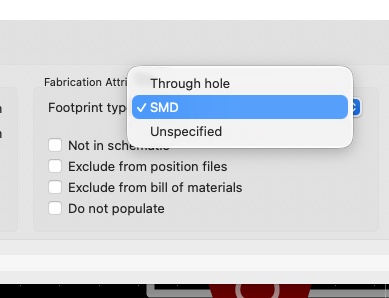
KiCad also allows updating the mount type in the PCB editor alone, this change will solely apply to that particular footprint, use it only when you have lost the original KiCad project or library.
1. Update the footprint mount type.
Open the PCB editor, right-click on the footprint that you want to update. Select Properties.
Save the PCB board file using Ctrl + S .
2. Upload a new revision.
Go to the project overview. You will find an option to upload a new revision in the bottom left-hand corner:
During an ongoing order, you have to contact our support staff to update the revision for you.
Known PCB design tools issues and limitations
Issue: Processed thermal reliefs are too thin when uploading .kicad_pcb files.
- KiCad version: V5
- Description: Thermal reliefs appear too thin due to a bug when importing KiCad 5 files into KiCad 7+. Previously working designs may break when a new revision is added.
- Workaround/Fix: Generate Gerber files locally, or upgrade to KiCad 7 or newer.
Issue: Custom fonts are not processed when uploading .kicad_pcb files.
- KiCad version: V7 and V8
- Description: Custom fonts are not embedded in the board file, and the import server does not have them available.
- Workaround/Fix: No fix available. Generate Gerber files locally, or use the AISLER Push for KiCad plugin.